Web Chat
Web Chat Channel Configuration
Create Web Chat Channel
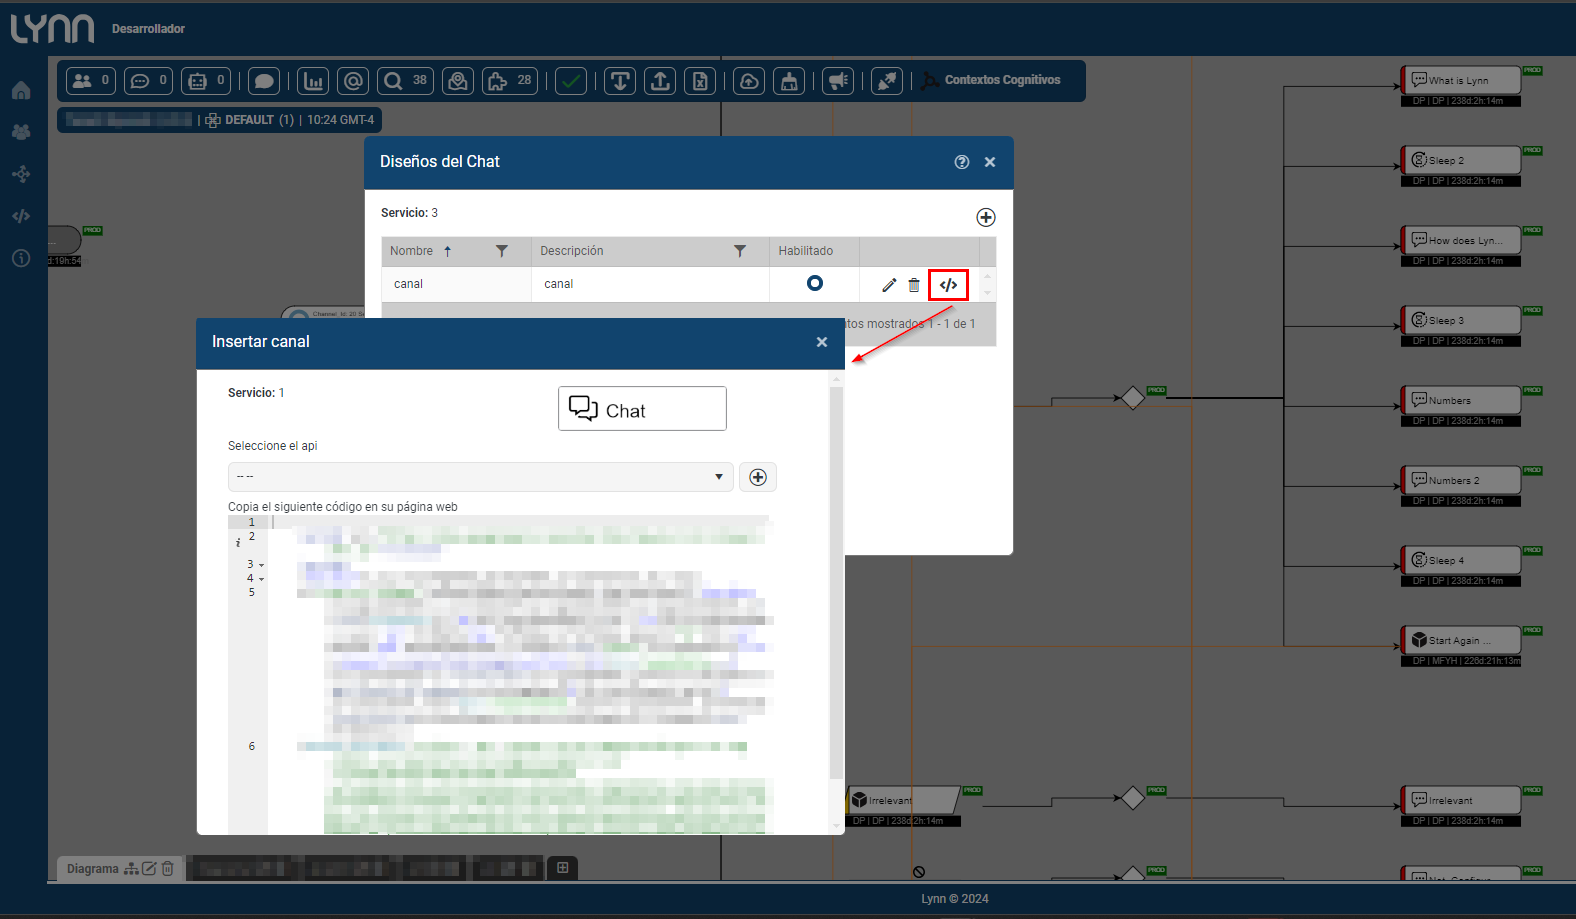
To carry out this procedure, the user needs to access the flow designer and right-click, where the option to configure the channel will be displayed. Next, select the "Add channel to developer" option, which will open the following window:
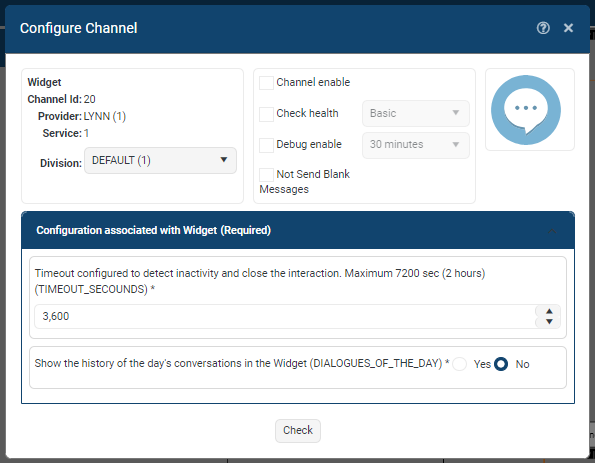
During this process, it is essential to define the configured waiting time to detect inactivity and close the interaction. In this case, the maximum limit is 7200 seconds (2 hours) (TIMEOUT_SECONDS). Additionally, choose the option to display historical conversations of the day in the widget (DIALOGUES_OF_THE_DAY).
Widget Designer (Web Chat Appearance)
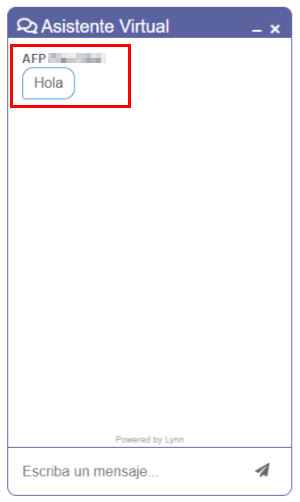
The widget designer is a functionality that allows creating graphic design themes that adapt to the look & feel of the client's website.
Here several themes can be created and the default theme with which the widget will be presented to the client's website will be selected.
This designer will present several sections depending on the level of expertise in web design. It can be personalized at a general level, header, footer, button, chat, form and advanced where CSS can be used.
If you want to use the widget in a development environment, consult the section Sandbox.
Architecture
The channel is configured in the tenant diagram, from where you can go to the theme configuration, and finally, it is included on the client's page for deployment.

Themes

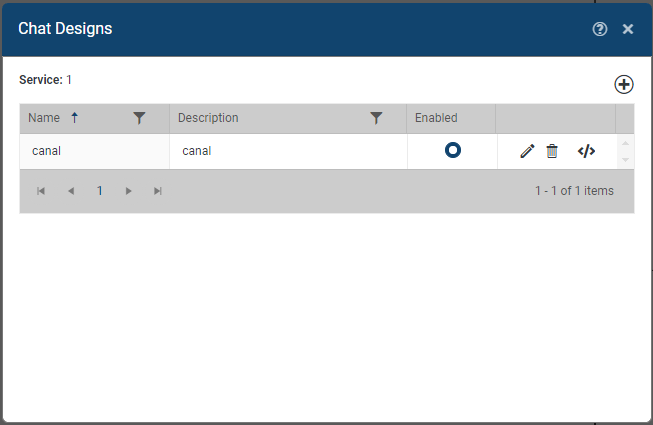
Themes are different designs in which the widget will be presented on the client's website. You can create as many themes as desired, and the theme that will be displayed is the one selected as the default.
You can give a name and description to identify the type of theme designed.
Configuration
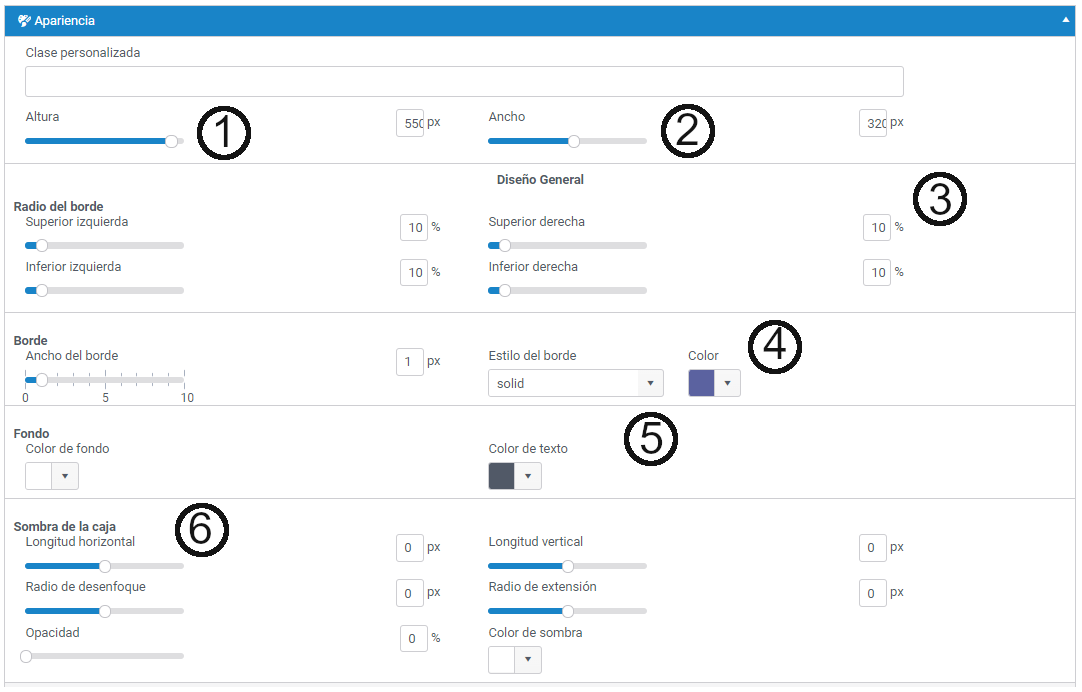
General Appearance Section
Here, you can configure different elements of the widget's general design.
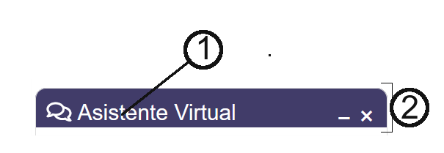
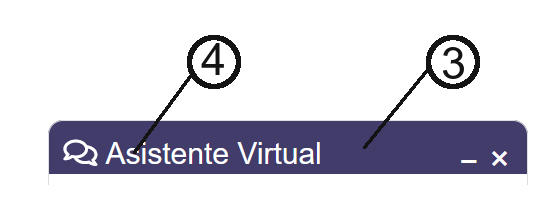
Header Section
Here, you can configure different elements of the widget's header design.

Footer Section
This section is optional and is configured in case there are frequently asked questions or security information


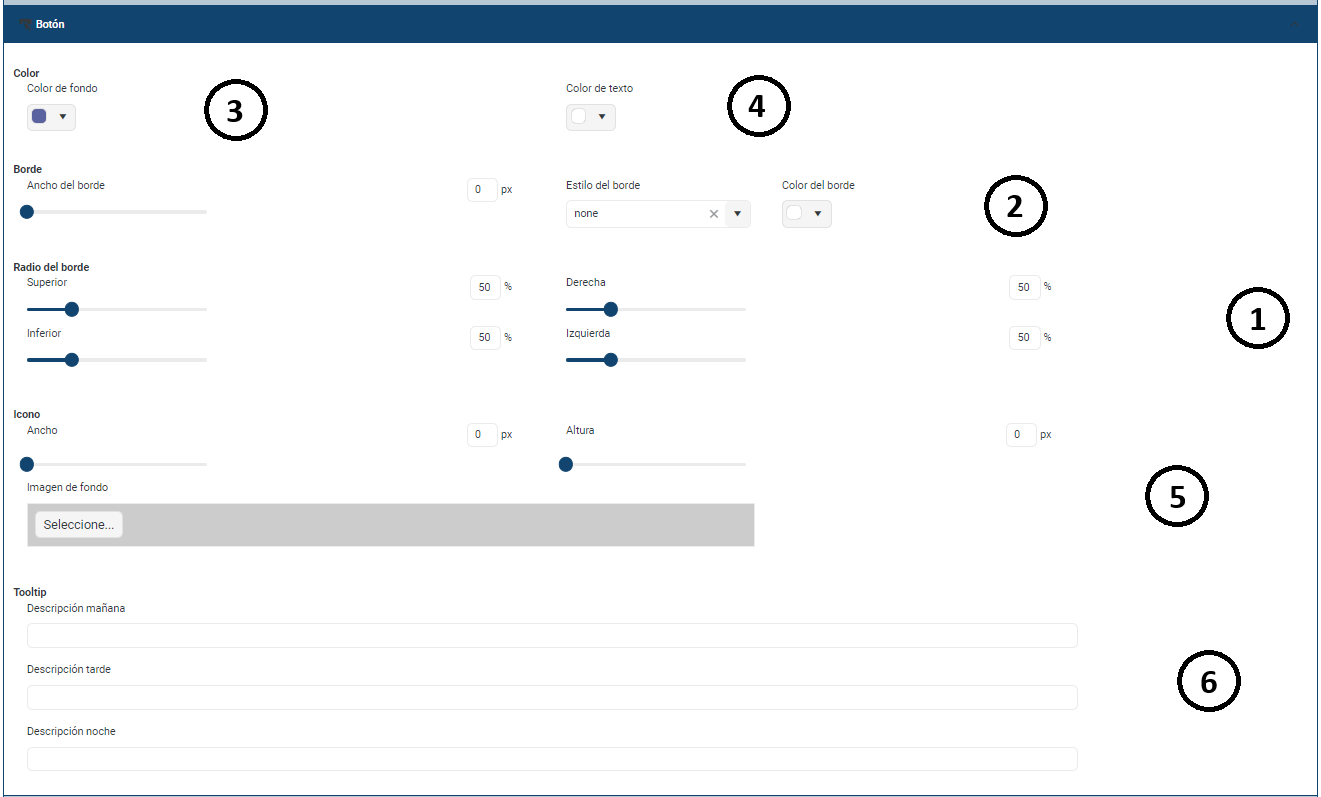
Button Section
In this section, you can configure the graphical elements of the button that will open the widget, whether it's presenting the form or presenting the chat with which the user will interact with Lynn, creating an interaction.
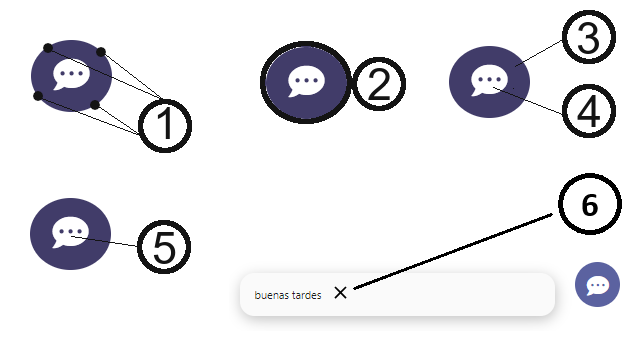

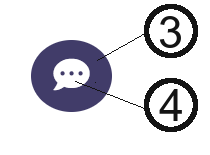
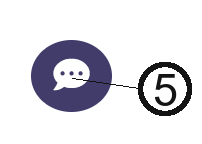
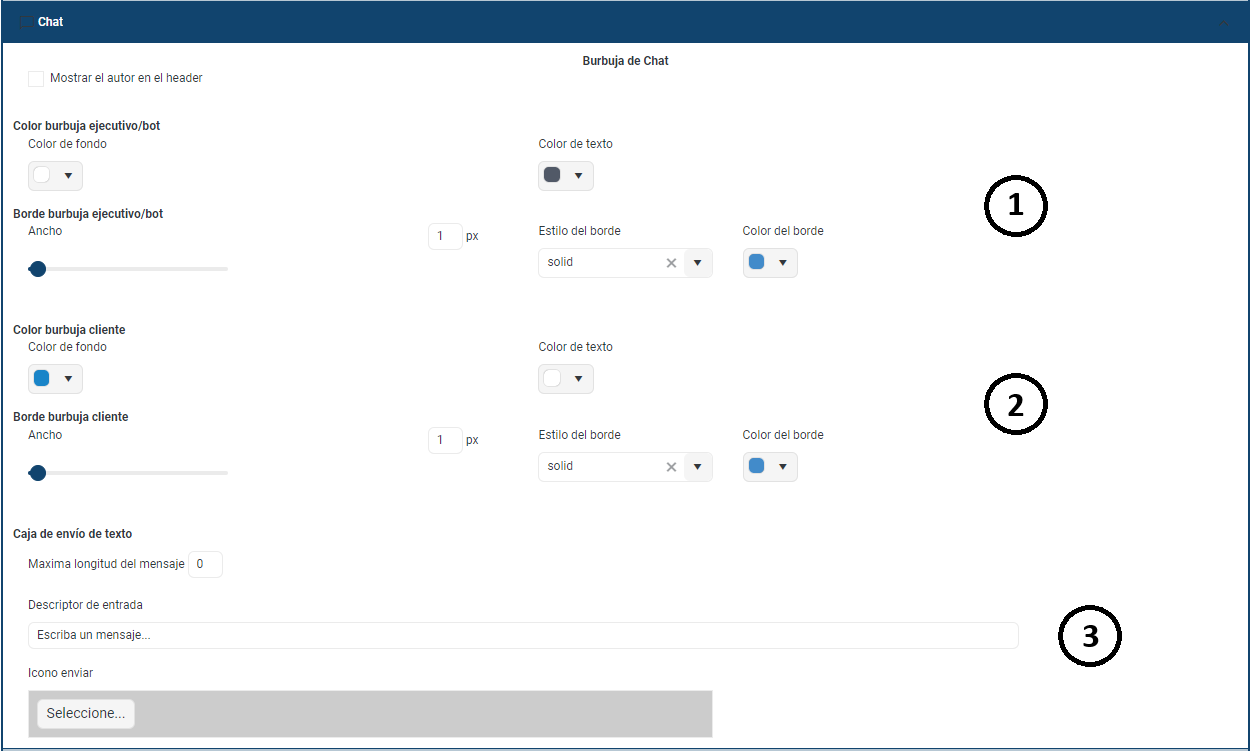
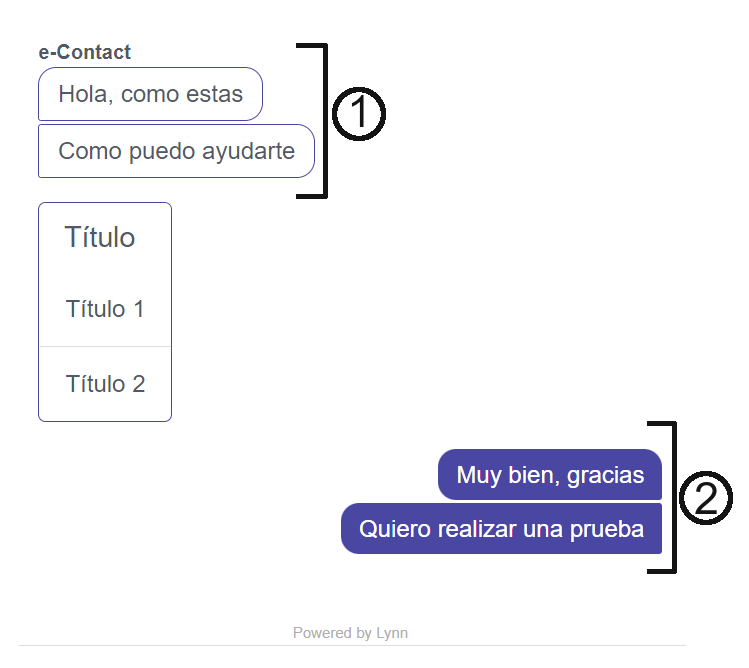
Chat Section
Here, you define the graphical elements that compose the chat in the widget, such as the bubbles for the bot or executive (left) and the bubbles for the client (right).
You can also configure the menus in a general manner, according to the executive's bubble configuration.
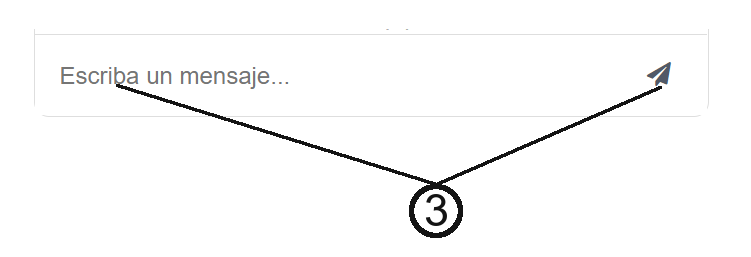
You can also adjust the text input box.
The bot's box will display the description, which is the name defined for the tenant.
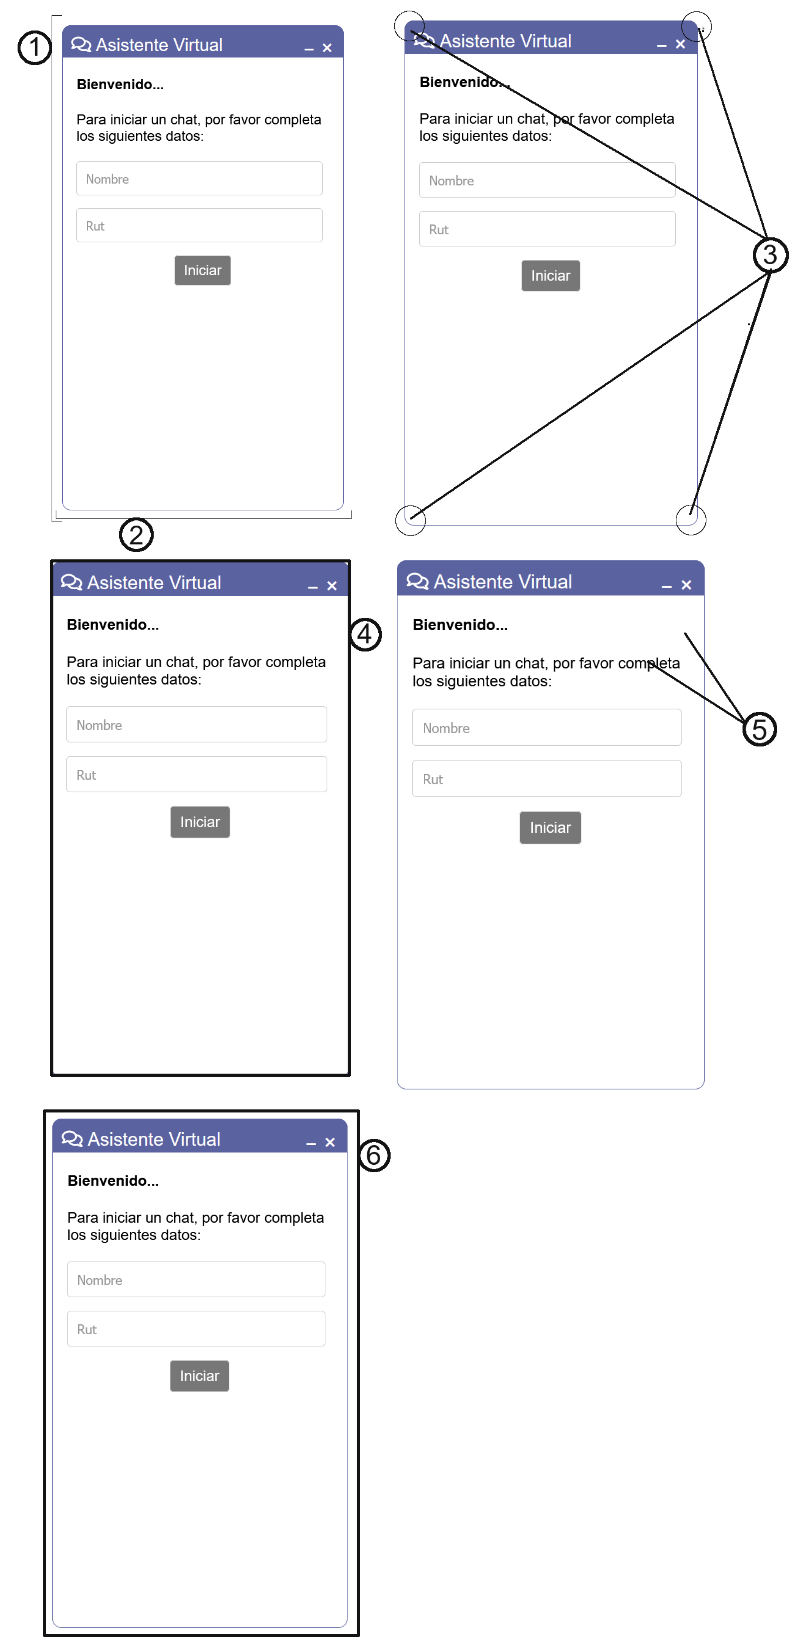
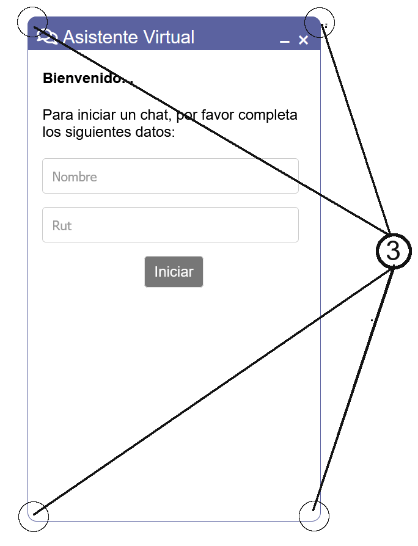
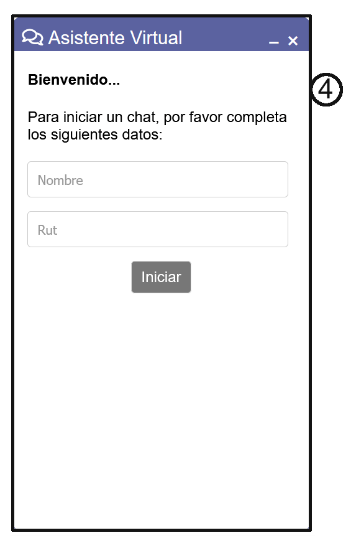
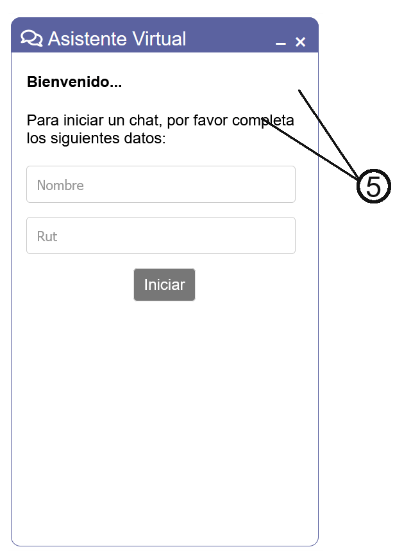
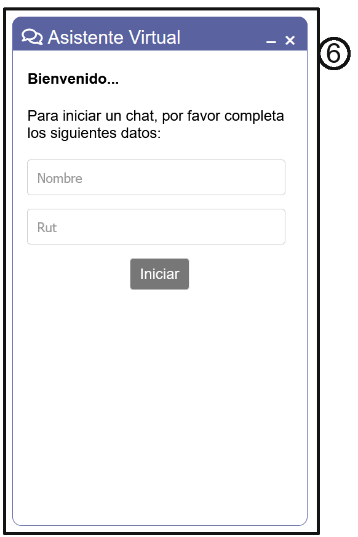
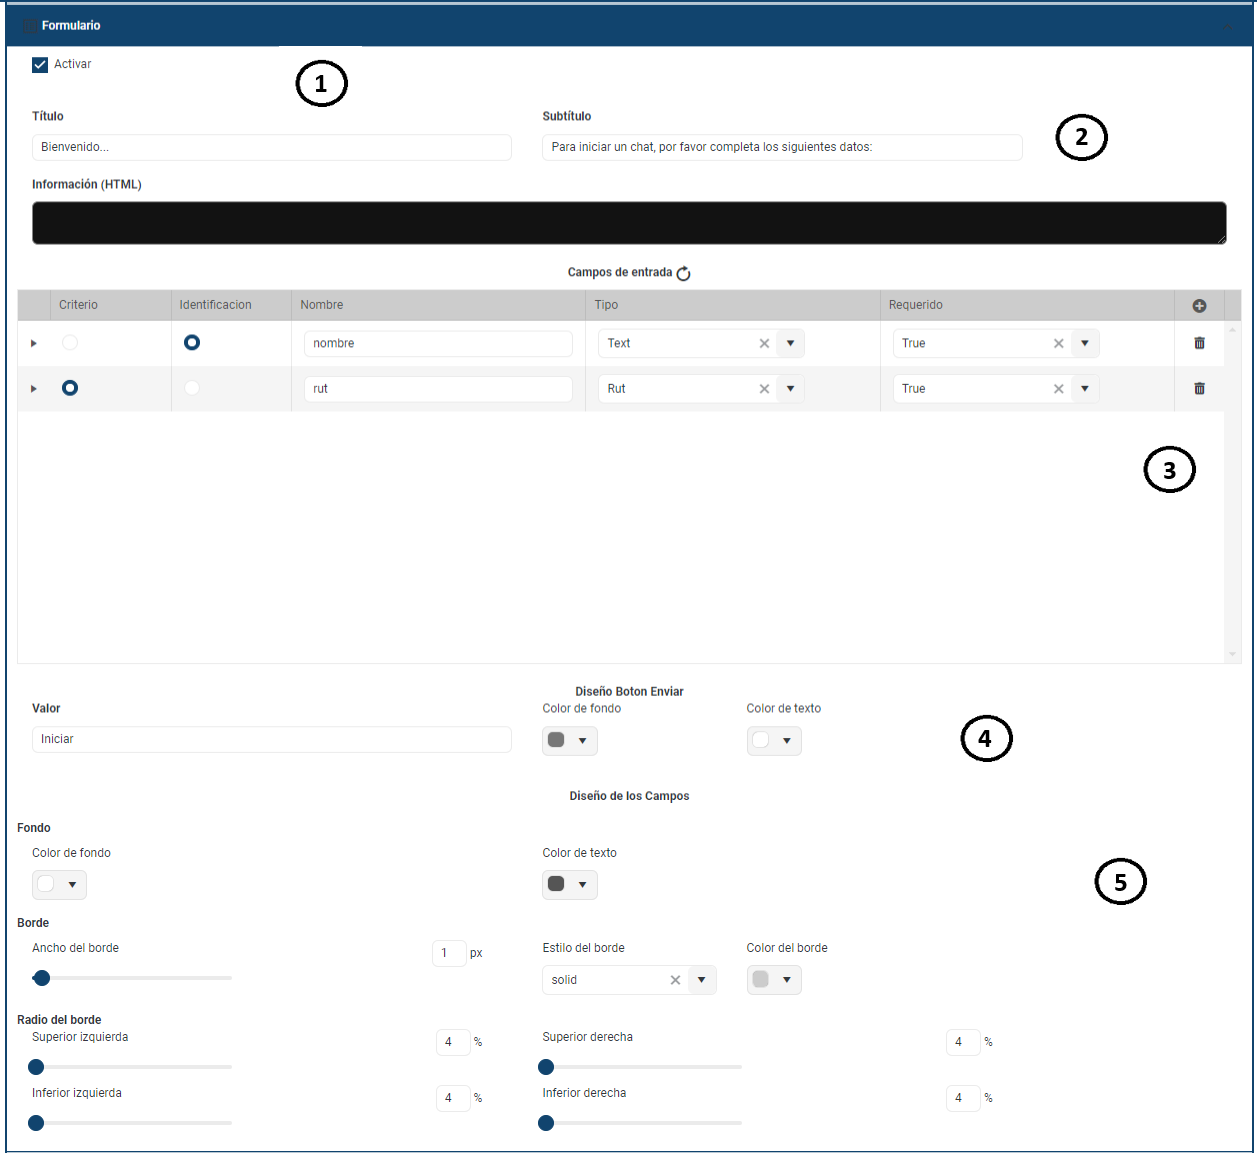
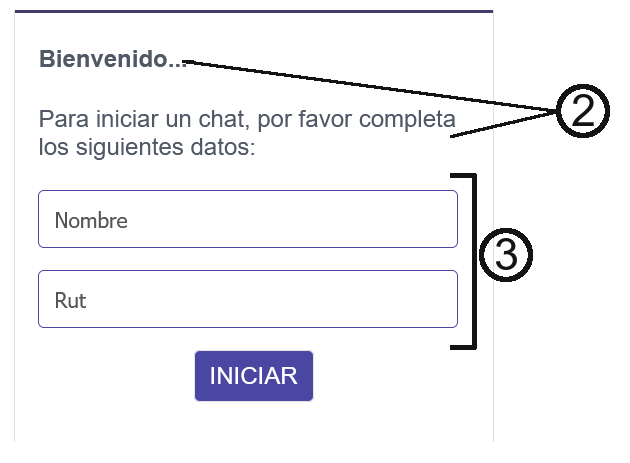
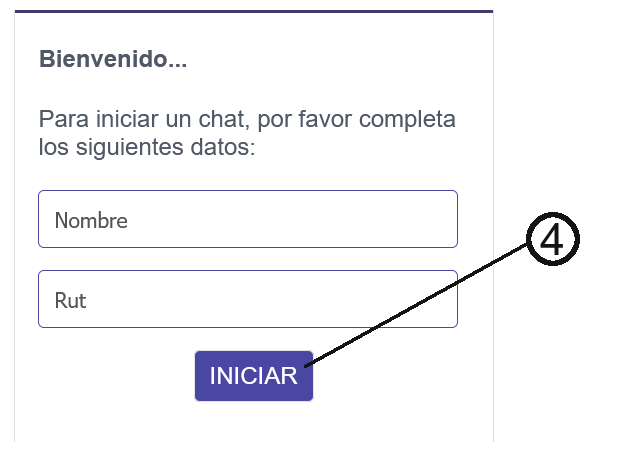
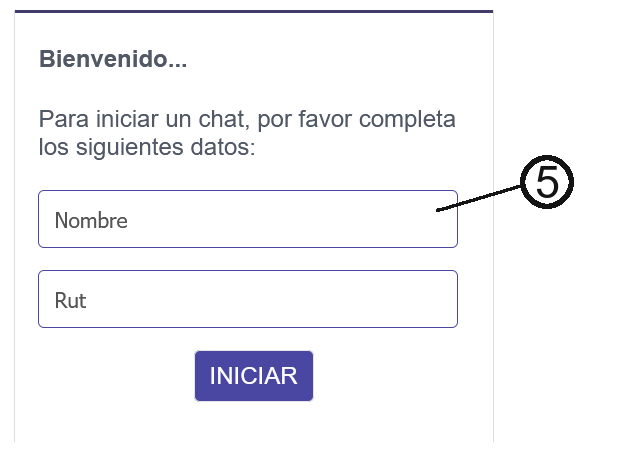
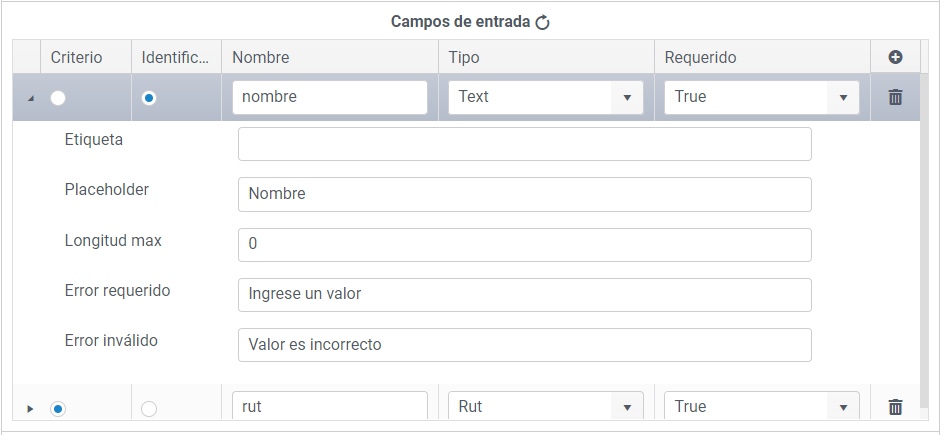
Form Section
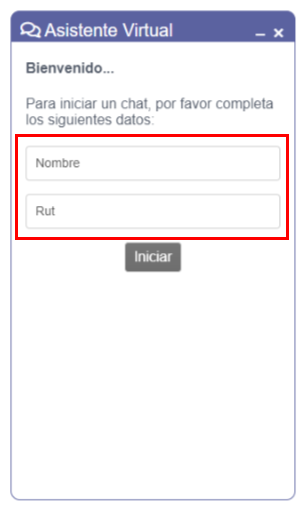
If the form is active, a form will be presented to the widget user where corresponding data will be requested:
Criterio: User identification value, such as ID, phone number, email, etc.
Identificación: It is the way the user will identify themselves to Lynn or the executive. Usually, it is the person's name.
You can also add all the necessary fields according to the client's needs.
The information sent through the form is considered as "User Data" or user interaction information.
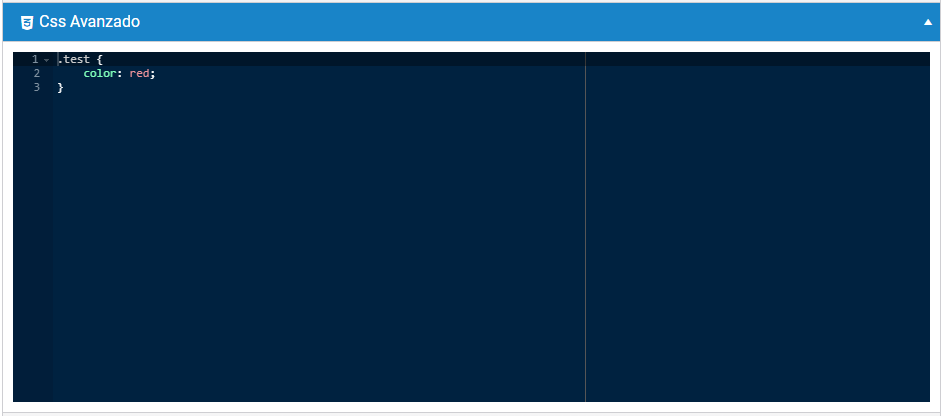
Advanced Section
In this section, direct adjustments to the widget css can be made. If the client has the support of a web designer, a stylesheet can be defined to overwrite the basic widget styles.
Tips
The design changes are not reflected on the widget.
You can put this link on the browser.
https://lynn-latam-production-br-ch-reg-t{IdApp}.azurewebsites.net/widget/refreshcss
The {IdApp} text must be replaced with the app identifier, as shown in the example below.
https://lynn-latam-production-br-ch-reg-t31.azurewebsites.net/widget/refreshcss
When this link is invoked the widget environment is cleared and design is loaded again from Lynn.
Include the widget on the client's website
To include the widget on the client's website in the production environment, a Javascript script is placed that will be responsible for loading all the elements necessary for the widget to work. Next is the script that should be included:
    <script>
        (function (window, document, scriptTagName, globalName, scriptAddress, scriptElement, otherScriptElement) {
        window['ChatLynn-Widget'] = globalName;
        window[globalName] = window[globalName] || function () {
        (window[globalName].q = window[globalName].q || []).push(arguments);
        window[globalName].s = scriptAddress;
        };
        scriptElement = document.createElement(scriptTagName);
        otherScriptElement = document.getElementsByTagName(scriptTagName)[0];
        scriptElement.async = 1;
        scriptElement.src = scriptAddress;
        otherScriptElement.parentNode.insertBefore(scriptElement, otherScriptElement);
        })(window, document, 'script', 'mw', 'XXXXXX');
        mw('create', '', { }, {});
    </script>
The XXXXX must be replaced with the URL of the widget corresponding to your tenant. If it is necessary to pass parameters in the interaction such as additional data or not to open the form, you can use the following sentence at the end of the Script:
mw('create', '', { }, {});
mw(<1st parámetro>, <2nd parámetro>,<3rd parámetro> , <4th parámetro>)
1st parameter: reserved 2nd parameter: criterion variable 3rd parameter: userdata, for example, the user's RUT or department who is logged in on the client's page. 4th parameter: Additional configurations, for example, to display the executive's name, use "executiveName". This parameter will overwrite the executive's name.
Example:
mw('create', 'uid', {page_name: Consultas}, {executiveName:"Julio Pérez"});
Steps for Configuration - Public and Private Portal
- Identify the tenant that does not have a theme assigned to the widget.
- A default theme must be created. It is important to customize the widget's style to align with your brand image.
Note: To configure the client's own style, you can refer to our documentation in the Resource Center. Access through the following link: Widget Customization Guide. https://resources.lynn.cx/widget/widget/#widget-designerwidget-appearance
- Including the Script on the Client's Page: It is necessary to include a specific script on the client's website to activate the widget. Please copy this code snippet onto your website.
Public Portal
The widget on the client's website can be used publicly; therefore, authentication data will be requested for access.
Script for Public Site
<script>
    (function (window, document, scriptTagName, globalName, scriptAddress, scriptElement, otherScriptElement) {
    window['ChatLynn-Widget'] = globalName;
    window[globalName] = window[globalName] || function () {
    (window[globalName].q = window[globalName].q || []).push(arguments);
    window[globalName].s = scriptAddress;
    };
    scriptElement = document.createElement(scriptTagName);
    otherScriptElement = document.getElementsByTagName(scriptTagName)[0];
    scriptElement.async = 1;
    scriptElement.src = scriptAddress;
    otherScriptElement.parentNode.insertBefore(scriptElement, otherScriptElement);
    })(window, document, 'script', 'mw', 'XXXXXX');
    mw('create', '', { }, {});
</script>
Private Portal
The widget on the client's website can be used privately; therefore, no authentication data will be requested, as it was provided by the user during registration on the private site.
Configuration Steps
<script>
    (function (window, document, scriptTagName, globalName, scriptAddress, scriptElement, otherScriptElement) {
    window['ChatLynn-Widget'] = globalName;
    window[globalName] = window[globalName] || function () {
    (window[globalName].q = window[globalName].q || []).push(arguments);
    window[globalName].s = scriptAddress;
    };
    scriptElement = document.createElement(scriptTagName);
    otherScriptElement = document.getElementsByTagName(scriptTagName)[0];
    scriptElement.async = 1;
    scriptElement.src = scriptAddress;
    otherScriptElement.parentNode.insertBefore(scriptElement, otherScriptElement);
    })(window, document, 'script', 'mw', 'XXXXXX');
    mw('create','rut',{rut:"39XXXX-XXXX",nombre:"Pedro",apellido:"Perez",tipo:"privado"},{ showform: false });
</script>