Slack Channel Configuration
Below are the necessary steps to configure the Slack channel and connect it with Lynn. Through this integration, you can enable message reception and delivery between a Slack workspace and the Lynn platform, allowing you to manage interactions directly from this collaboration tool. The setup includes configuration on both Slack and the Lynn channel administration platform.
Prerequisites
You must have a Slack workspace (an active account is required).
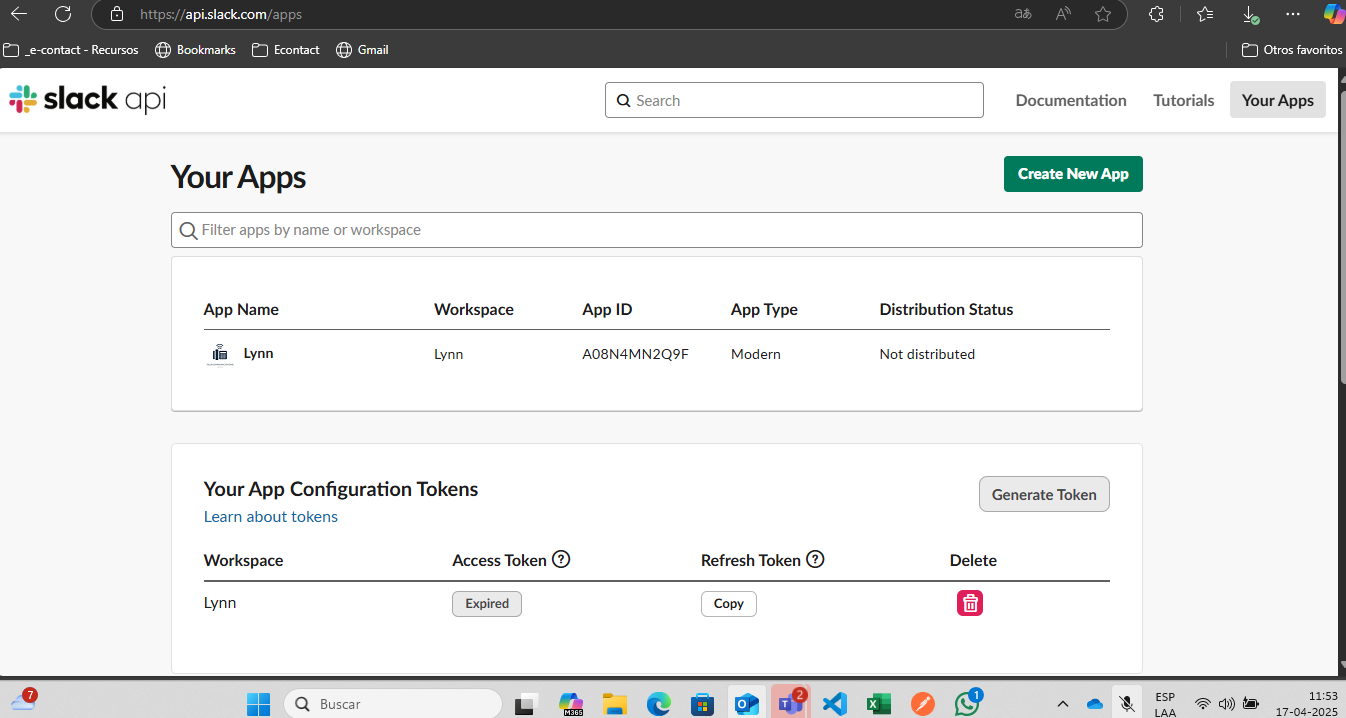
Create a new app in Slack from Slack API: Applications | Slack.
- You can add more than one app to the same workspace if needed.
- Accept the terms and conditions of the Slack Marketplace.
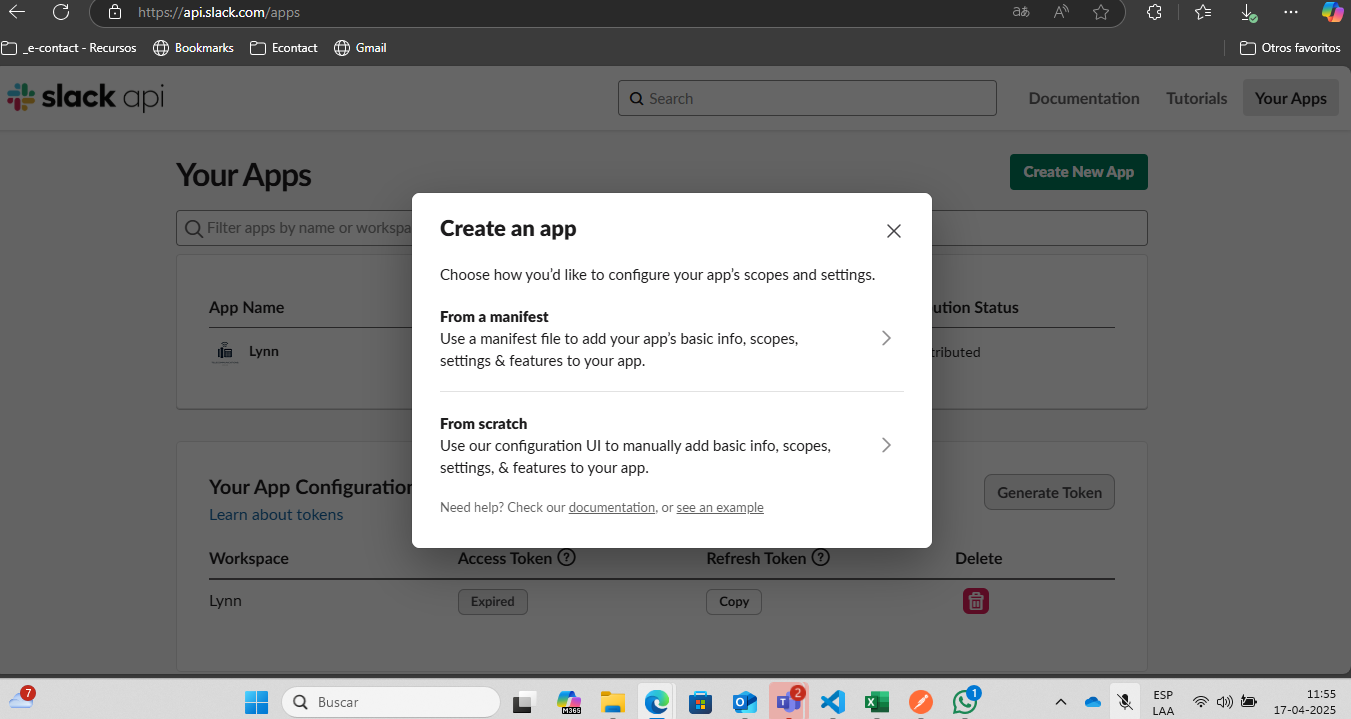
- When creating a new app, you can start from scratch or use a configuration manifest.
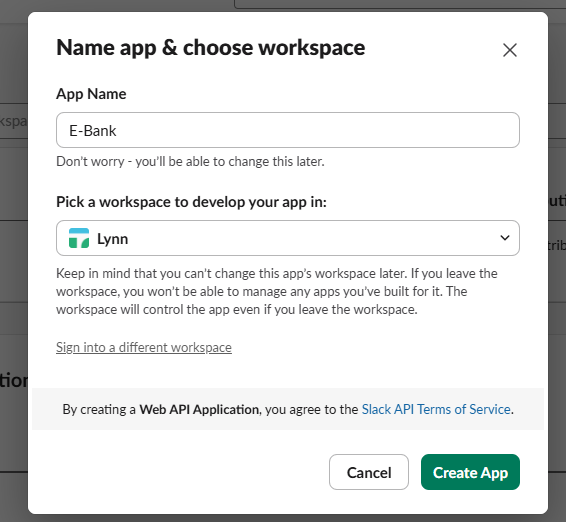
In this case, select the From scratch option to create it from the beginning:
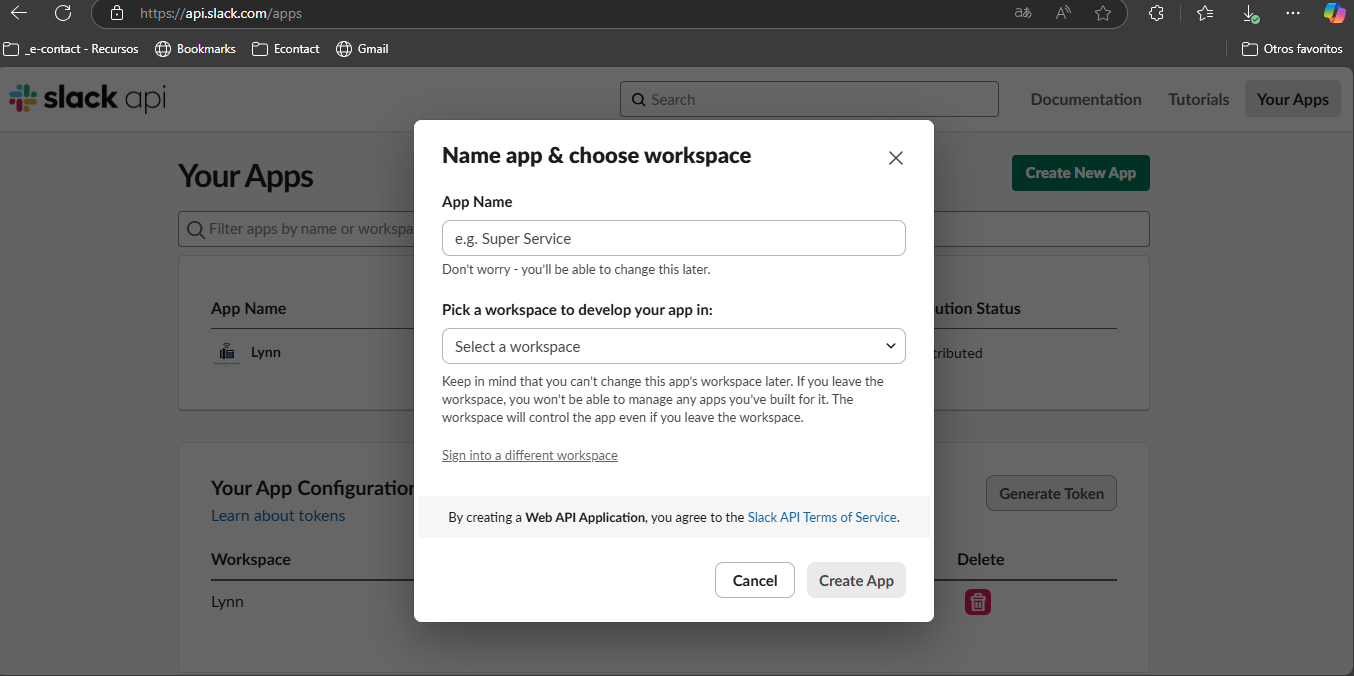
Enter the app details:
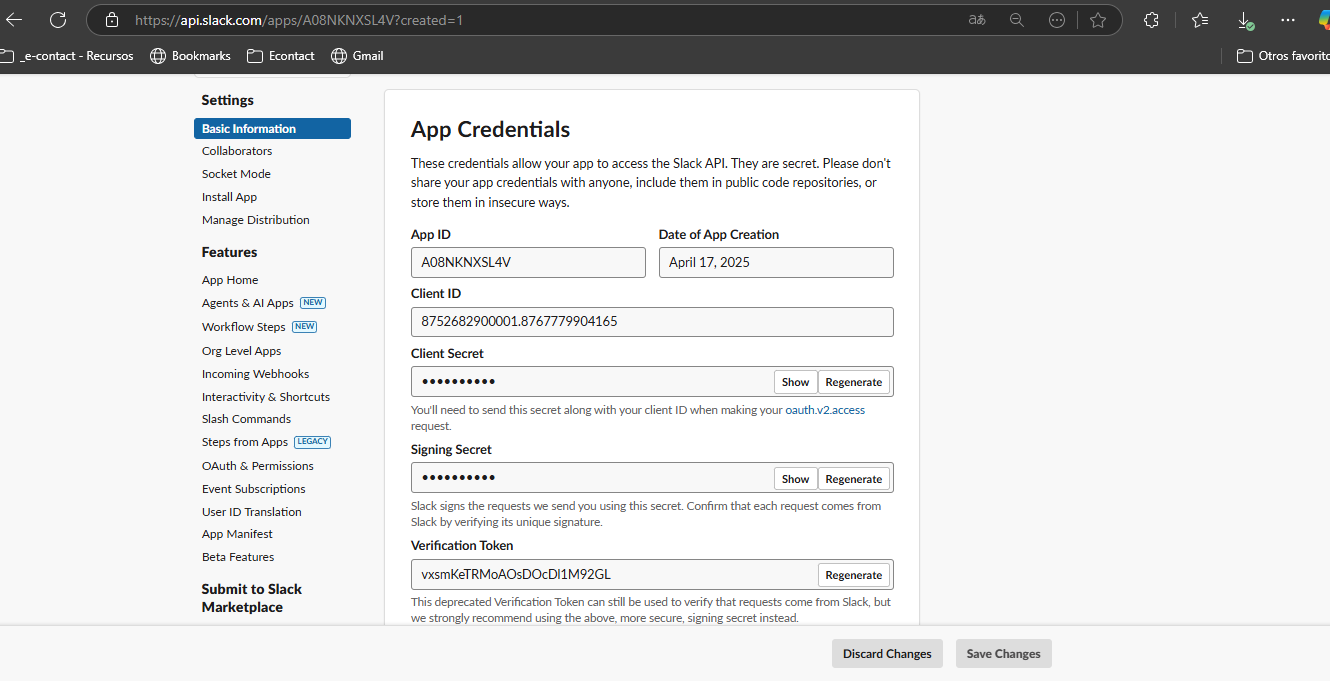
- Once created, the interface will display the app credentials. Copy the following values (do not share them with third parties):
- Client ID
- Client Secret
- Signing Secret
- Verification Token
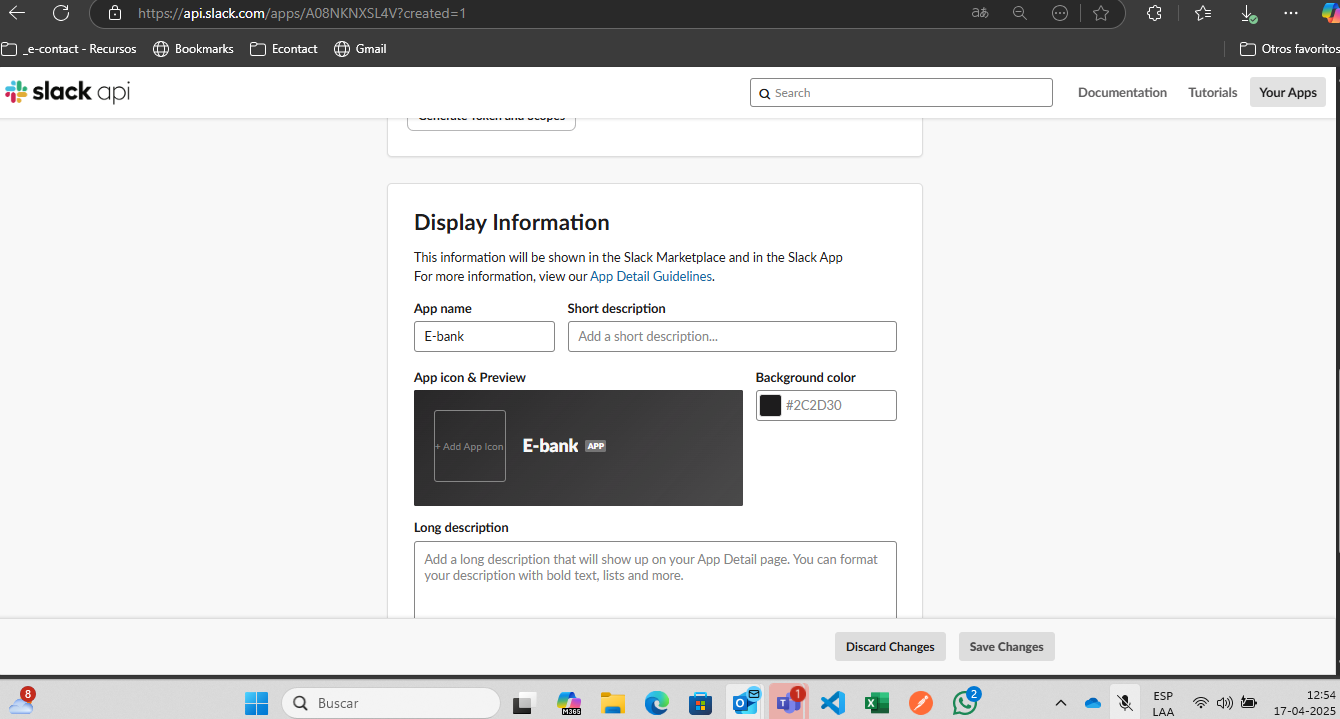
- Customize your bot or channel information in Slack. Scroll down in the same interface and complete the description, image, and optionally an extended description.
Steps to Create the Channel
- Log in to Lynn.
- Select the Designer option from the main menu.
- Right-click on a blank area of the designer.
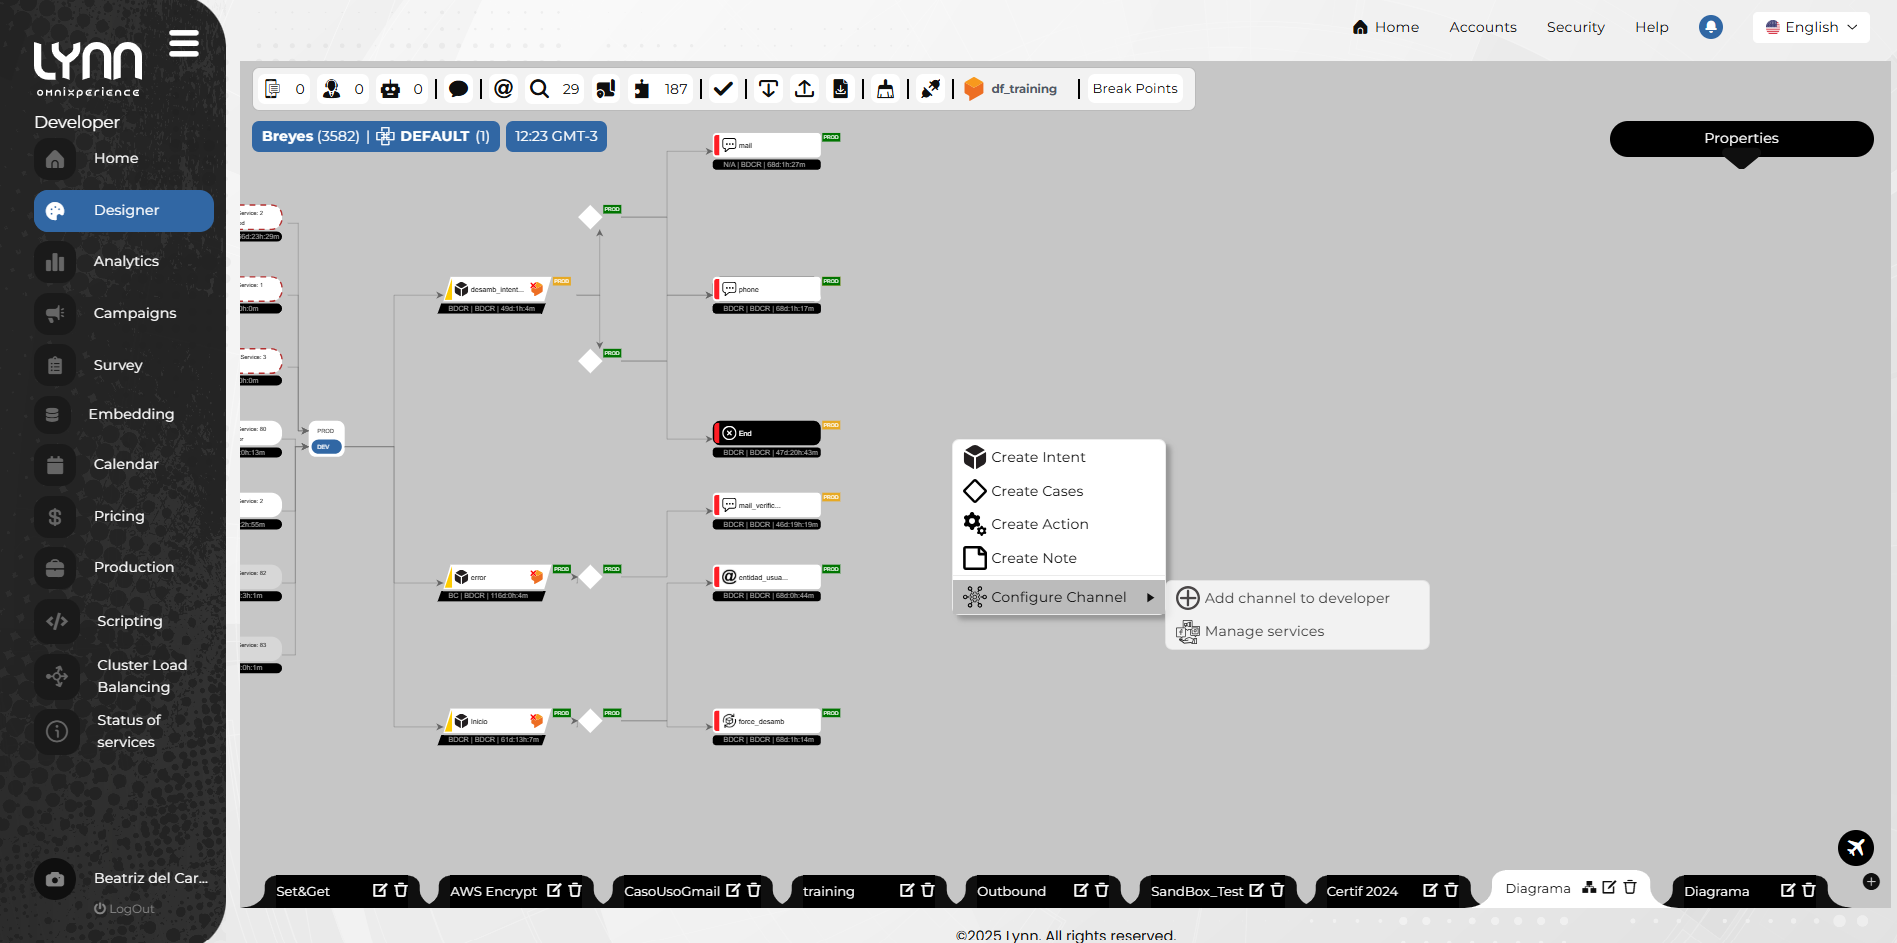
A context menu will appear.
- Select Configure Channel and then Add Channel to [Environment].
- Choose Slack from the list of available channels in Lynn.
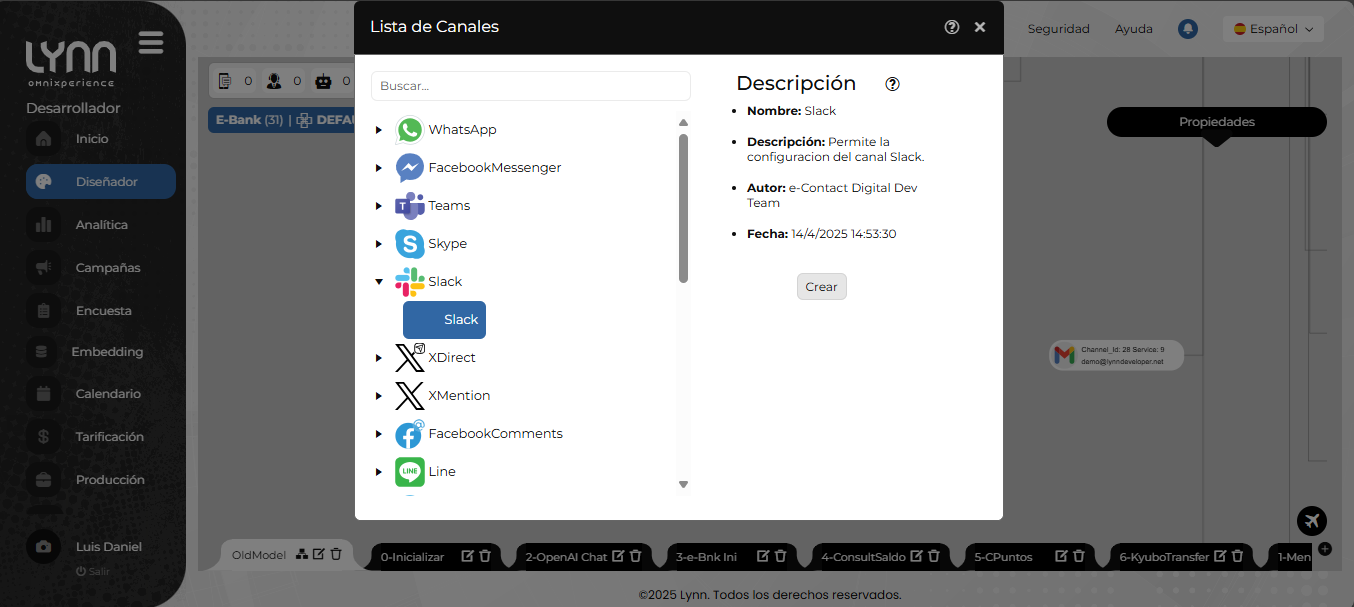
- Click Create.
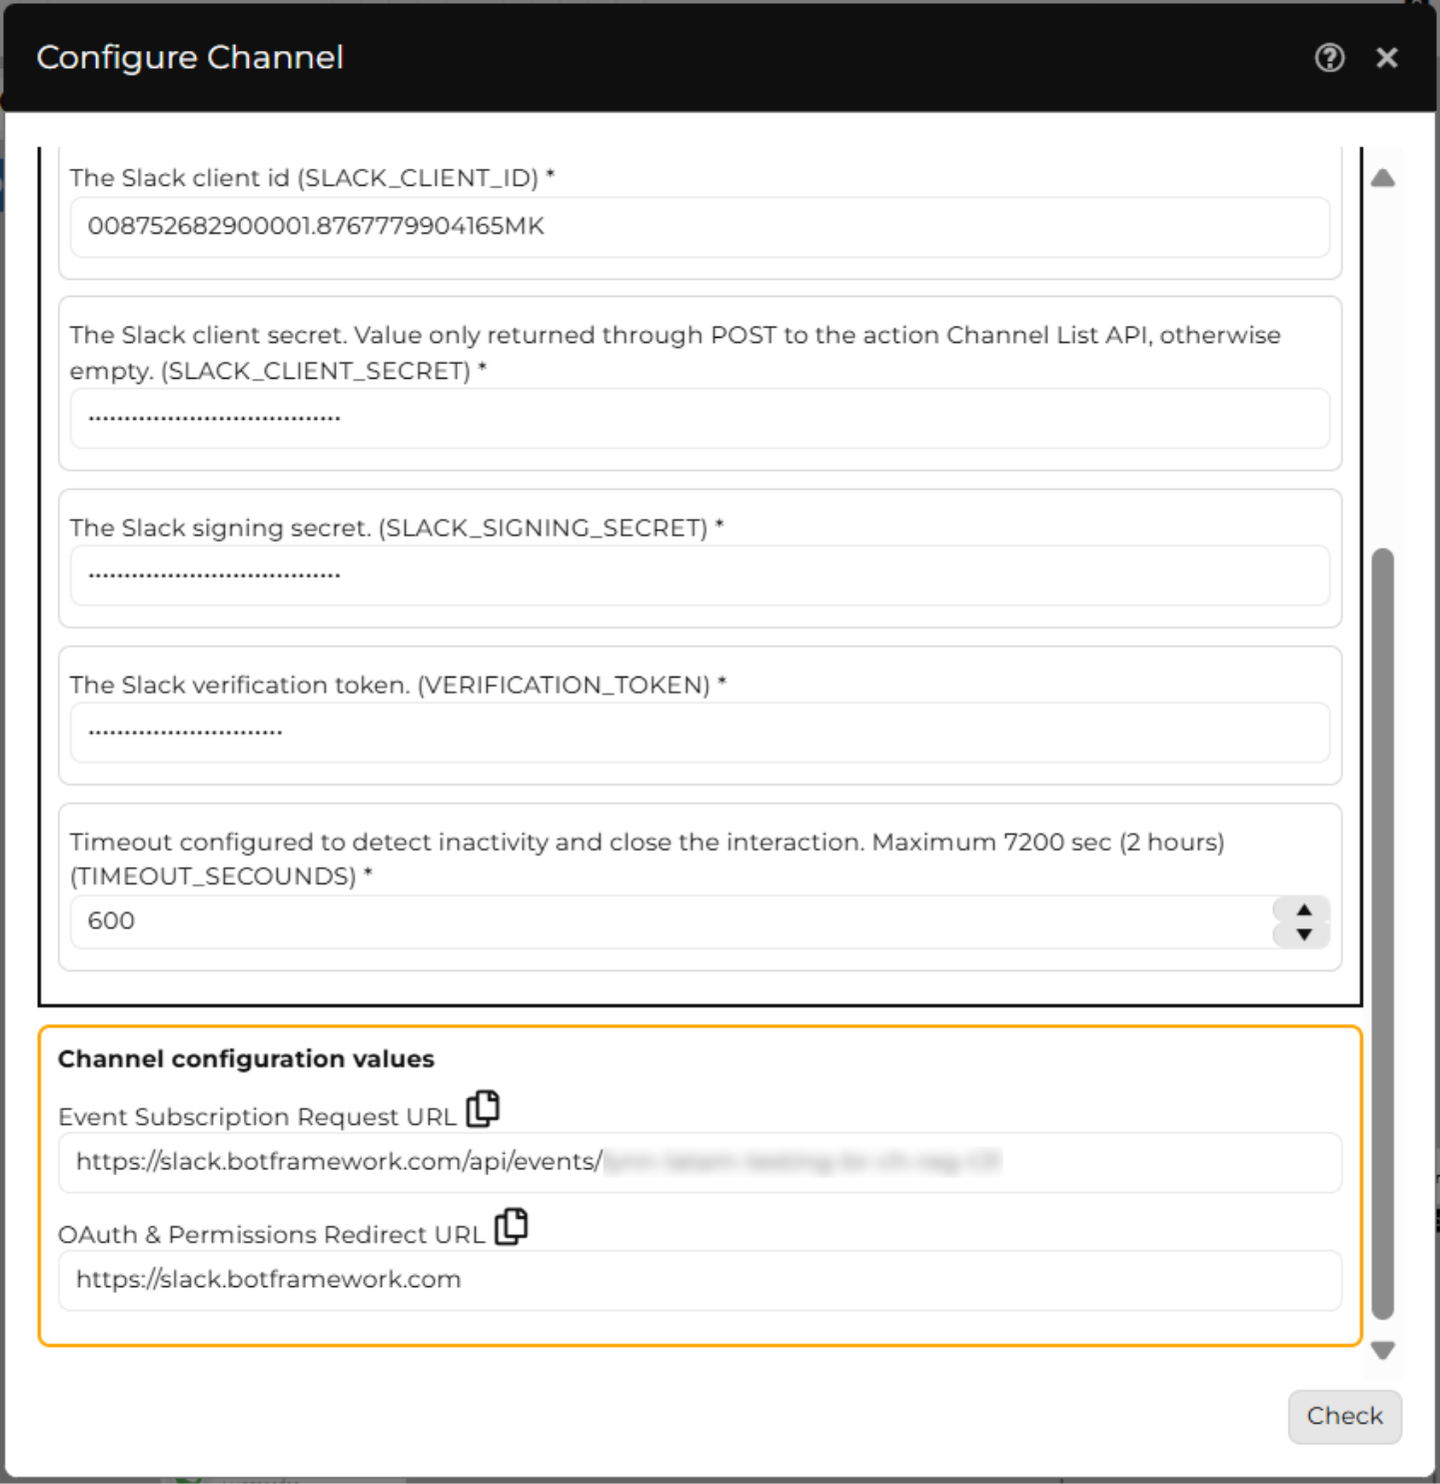
A window will appear with the required fields to configure the channel.
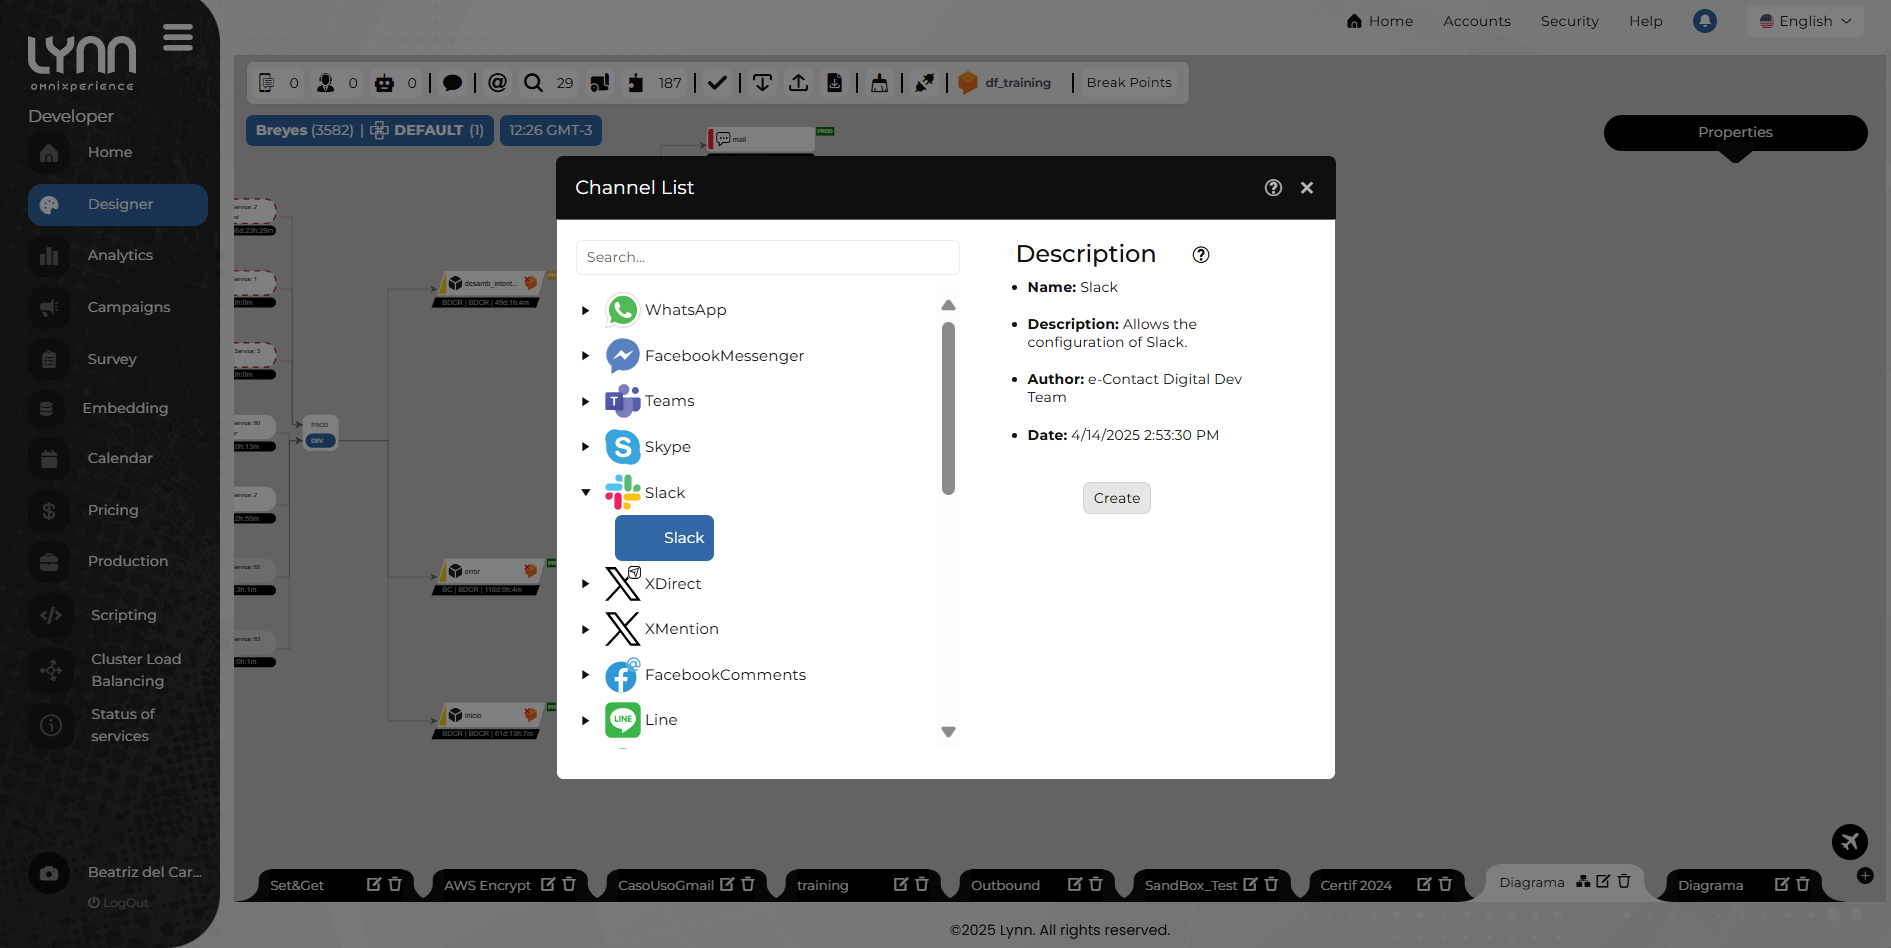
To complete this information, copy the values obtained from the Slack app configuration interface and paste them into Lynn's channel configurator. See the Prerequisites section for more details.
- Click the Verify button to start the parameter validation process. Then, click Create.
A confirmation pop-up will appear indicating the channel was successfully created.
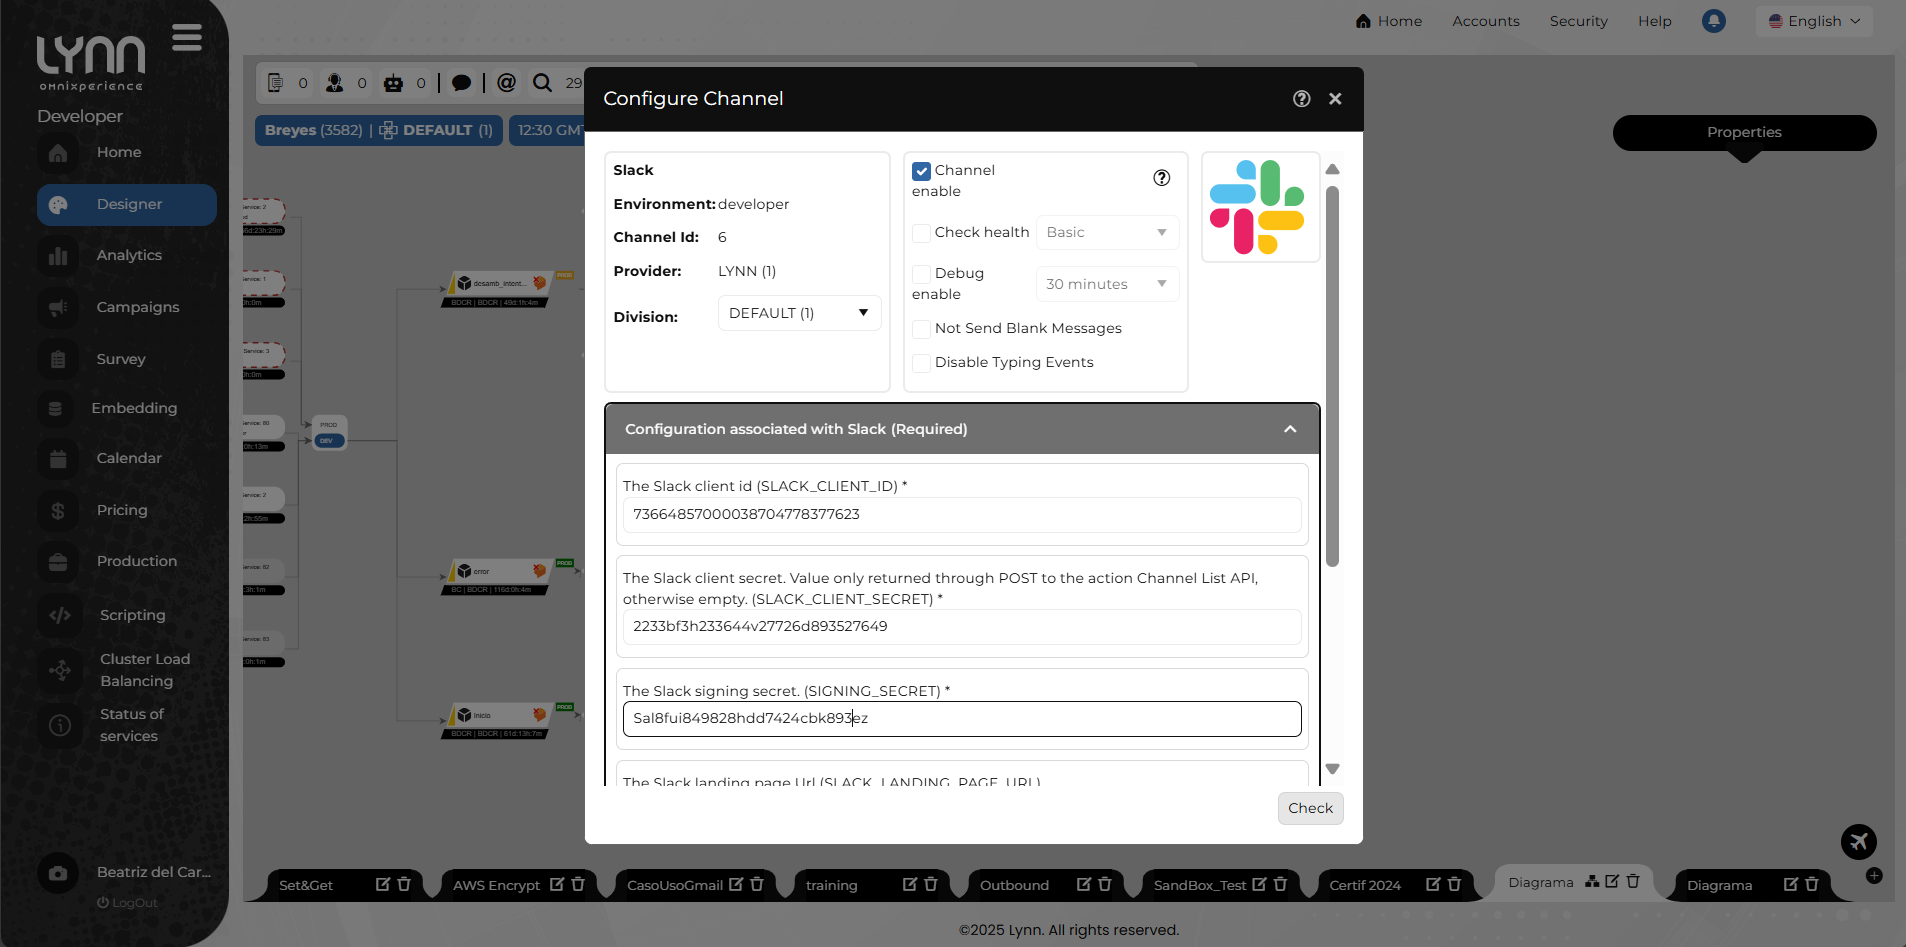
Activate the channel: right-click on the bubble of the created channel. A context menu will appear. Select Activate. The channel will change to a solid white color, indicating it is active.
Authorize the channel: once the channel is active, right-click it again to access the contextual menu. Select Authorize.
You will be redirected in a new tab to the Slack API web interface. If you're authenticated, the permissions request screen will appear.
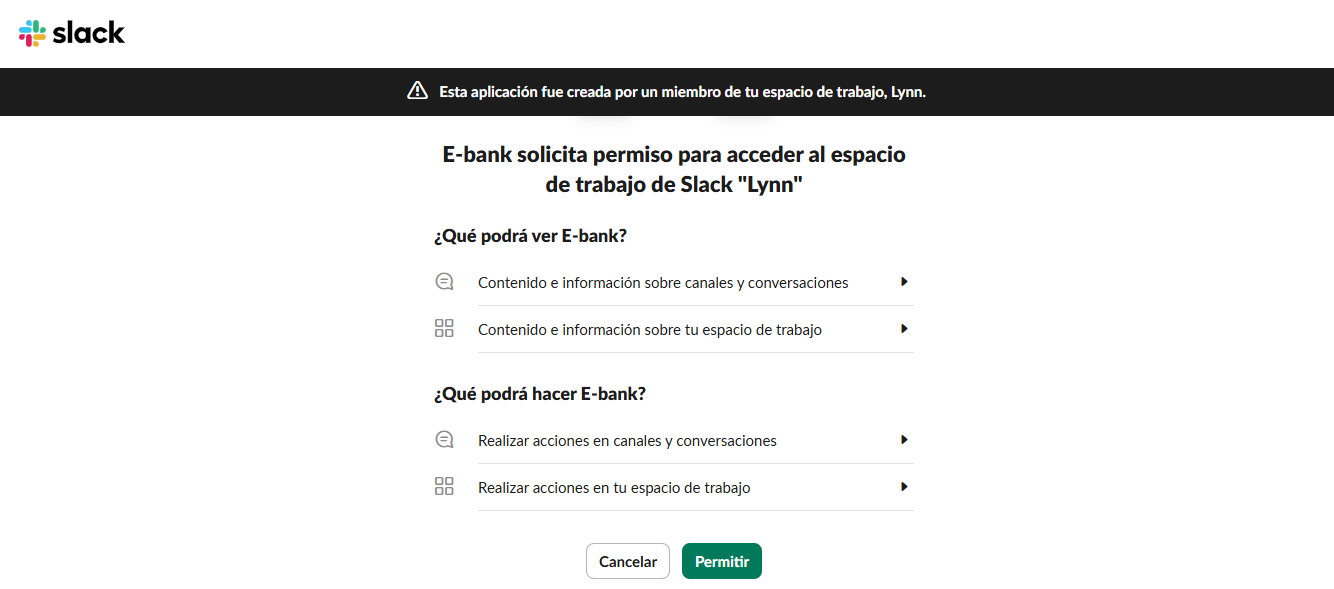
- If you agree to grant permissions, click the Allow button.
Additional Configuration in Slack
When the channel is created in Lynn, it provides two important values: the redirect URL and the subscription URL. Copy these values and enter them into your app's configuration interface in Slack.
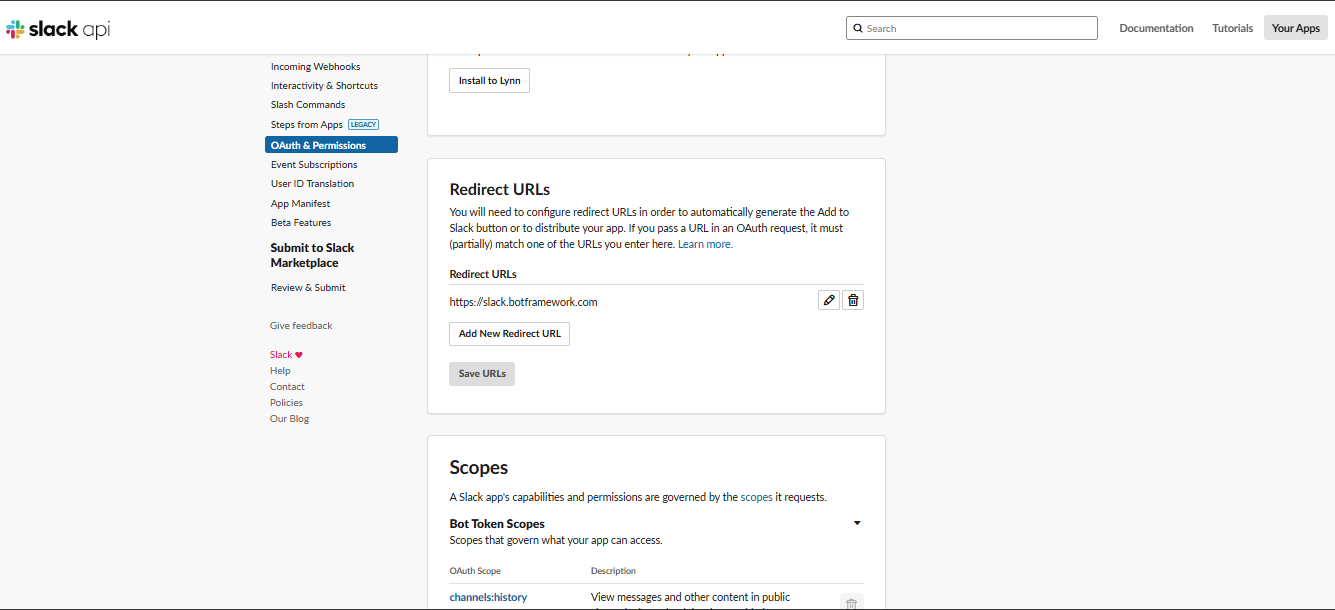
To add the redirect URL:
Go to the OAuth & Permissions section in your Slack app settings.
Add the URLs provided by Lynn in the appropriate fields.
Save the changes.
To configure the subscription URL:
Go to the Event Subscriptions section.
Enable event subscriptions.
Add the subscription URL provided by Lynn in the appropriate field.
Select the events you want your bot to listen to.
Recommended subscription events for the bot:
member_joined_channel
member_left_channel
message.channels
message.groups
message.im
message.mpim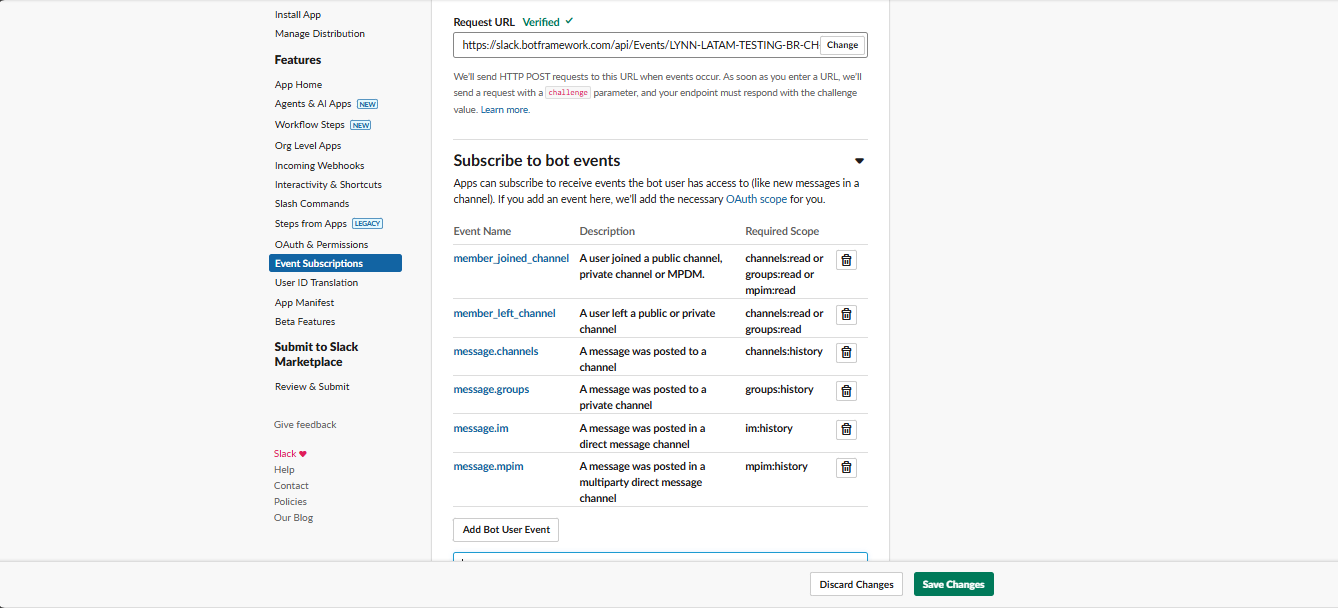
Make sure to select the appropriate scope for each event (usually the first option shown).
Save the changes.
In the App Home section, enable users to send messages:
- Turn on the Show tabs option and make sure the Messages tab is visible.
- Toggle the switch to green to enable it.
- If your app requires commands, also enable the corresponding option. (By default, Lynn bots do not require this functionality).
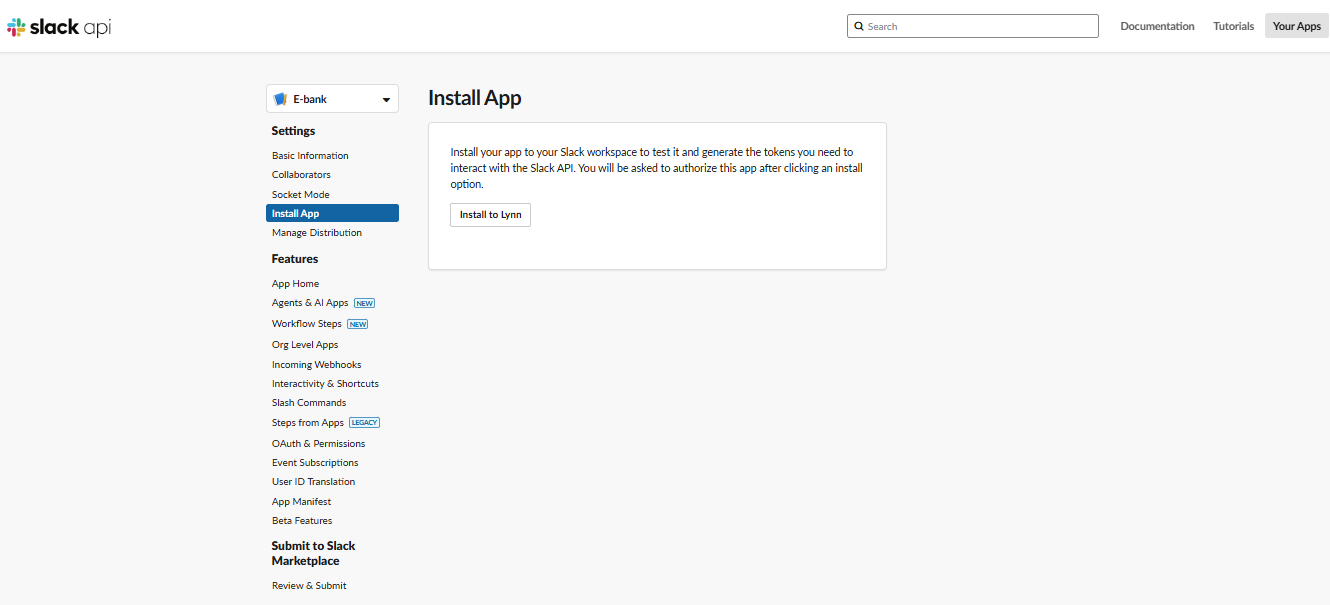
Install the app in Slack:
In your app's configuration panel in Slack:
- Open the Install App section.
- Click the Install App to [Workspace] button to install the app in your workspace.
- Authorize the app in your workspace.